If you’ve been hanging around here for any length of time, you probably already know that I mill my own flour at home. And if you’re new here, welcome! milling your own flour might sound a little out there, but I promise it’s a lot easier than it sounds. In this post I want to walk you through everything I’ve learned about getting started: what mill I use and why, which grains to buy and where to get them, how to store everything, and what you need to know before you start baking with fresh milled flour.
This is the post I wished I’d had when I was first starting out, so grab your coffee and let’s talk through it.
Why Mill Your Own Flour at Home?
This is usually the first question people ask me, and honestly, it’s a fair one. We’ve had access to bagged flour at the grocery store for generations. Why would anyone go back to grinding their own grain?
Here’s why it changed everything for me. When you mill flour at home, you’re working with the whole wheat berry (the bran, the germ, and the endosperm together) exactly as God made it. Store-bought flour has the bran and germ stripped out, and along with them go most of the nutrients. Commercial whole wheat flour adds some of that back in after the fact, but it’s not the same thing as flour that was never stripped to begin with.
Fresh milled flour is also incredibly alive. The oils and nutrients in the wheat germ are still intact, and the flavor is deeper and more complex than anything out of a paper bag. It’s hard to explain until you’ve tasted it, but once you do, you’ll understand why people get so passionate about this.
A few more reasons it’s worth it:
- You know exactly what’s in your flour. No bleach, no bromate, no additives.
- You can grind a variety of grains, including ancient ones like Khorasan (Kamut), einkorn, and spelt.
- Whole wheat berries store for years when kept properly, which is a huge plus for your pantry.
- The freshness truly cannot be matched unless you live next door to a working mill.
What Kind of Grain Mill Do You Need?
There are really three categories when it comes to home grain mills.
Manual mills are the most traditional option. You’ve seen these in old farmhouse photos. They clamp to a counter and you hand-crank them. I have a lot of respect for the concept, but practically speaking, they take forever. You could spend a solid hour cranking away and not have enough flour for a single loaf. Unless you’re off-grid or looking for a serious arm workout, I don’t think they’re the right fit for most home bakers today.
Electric mills are what I recommend for the average person, and what I personally use. They do the work for you in a matter of seconds. You pour your wheat berries in the top, set your fineness, and the fresh flour comes out the other side. It really is that simple.
Can you use something you already own? If you want to experiment before you invest in a dedicated mill, a high-powered blender (like a Vitamix), a spice grinder, or even a food processor can grind grain in a pinch. I literally used my Nutribullet until I bought my first mill. You won’t have as much control over the fineness, but it works well enough to give you a feel for it.
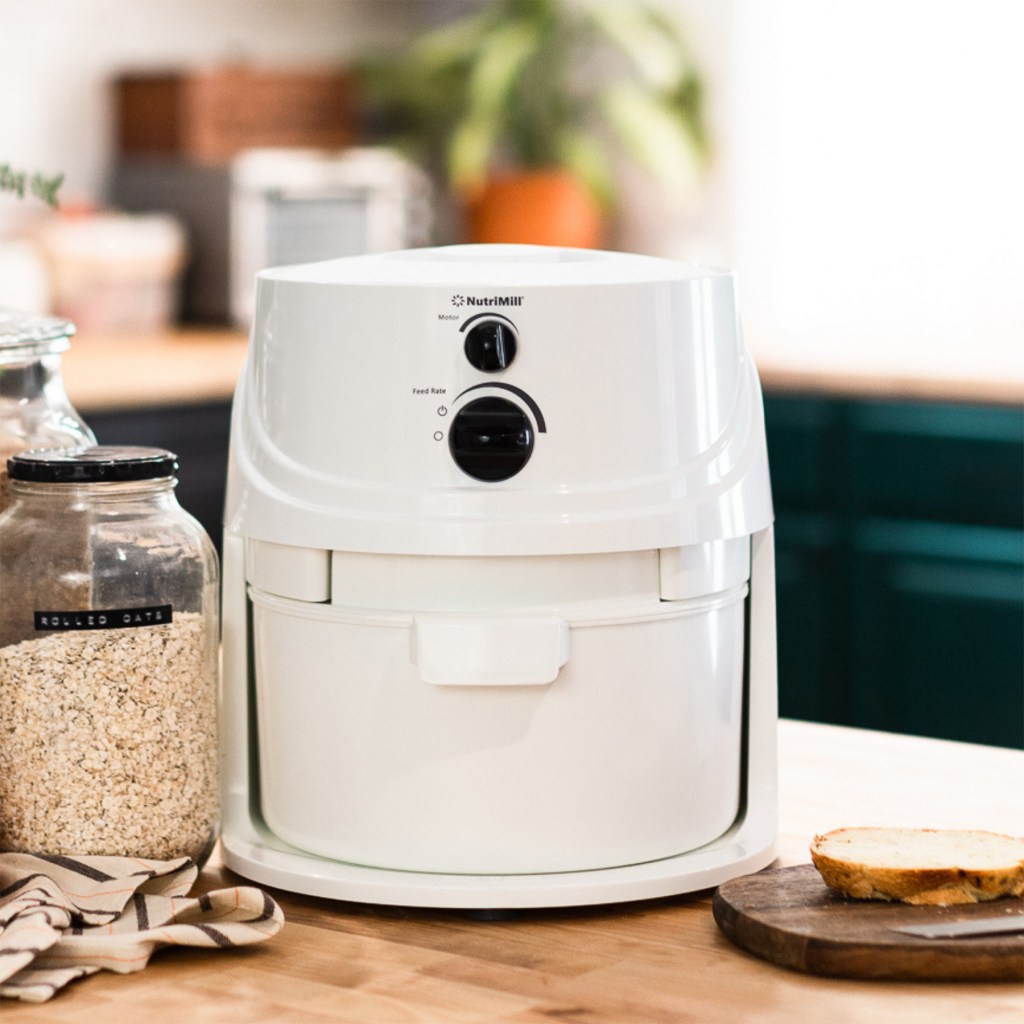
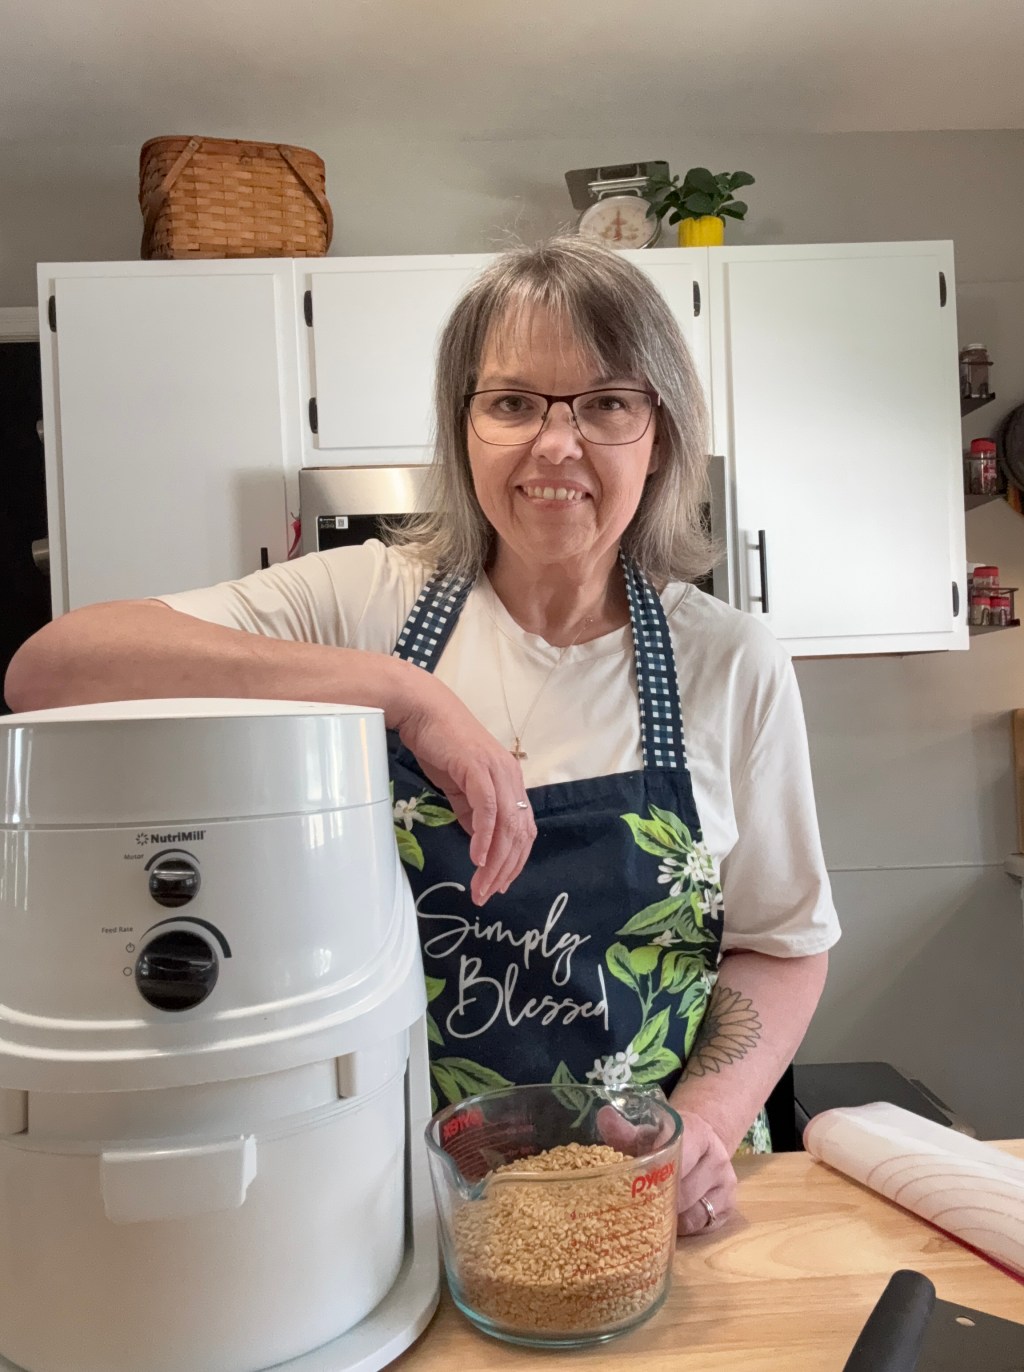
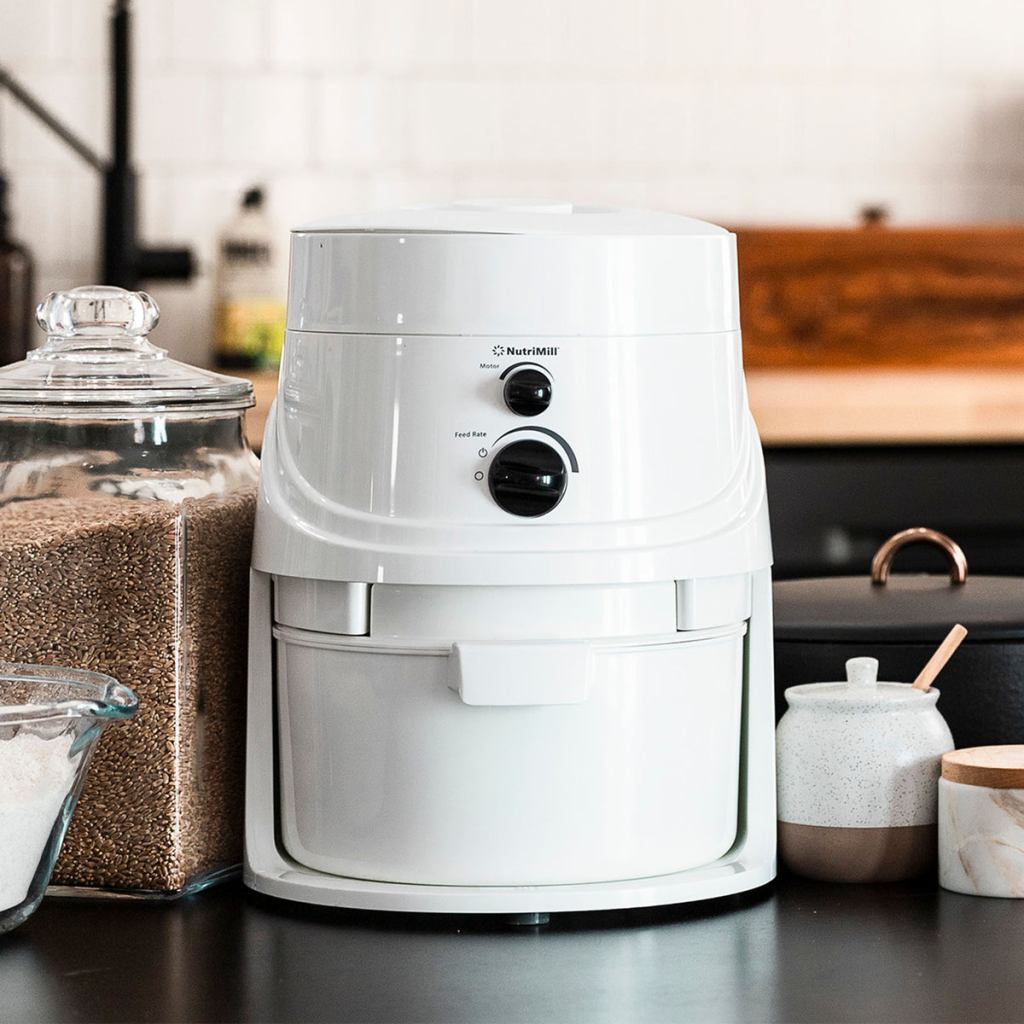
My Mill: The NutriMill Classic
I use the NutriMill Classic, and I recommend it wholeheartedly. It’s impact-based, which means it grinds the grain using high-speed stainless steel fins rather than stones. That makes it fast, easy to clean, and very consistent.
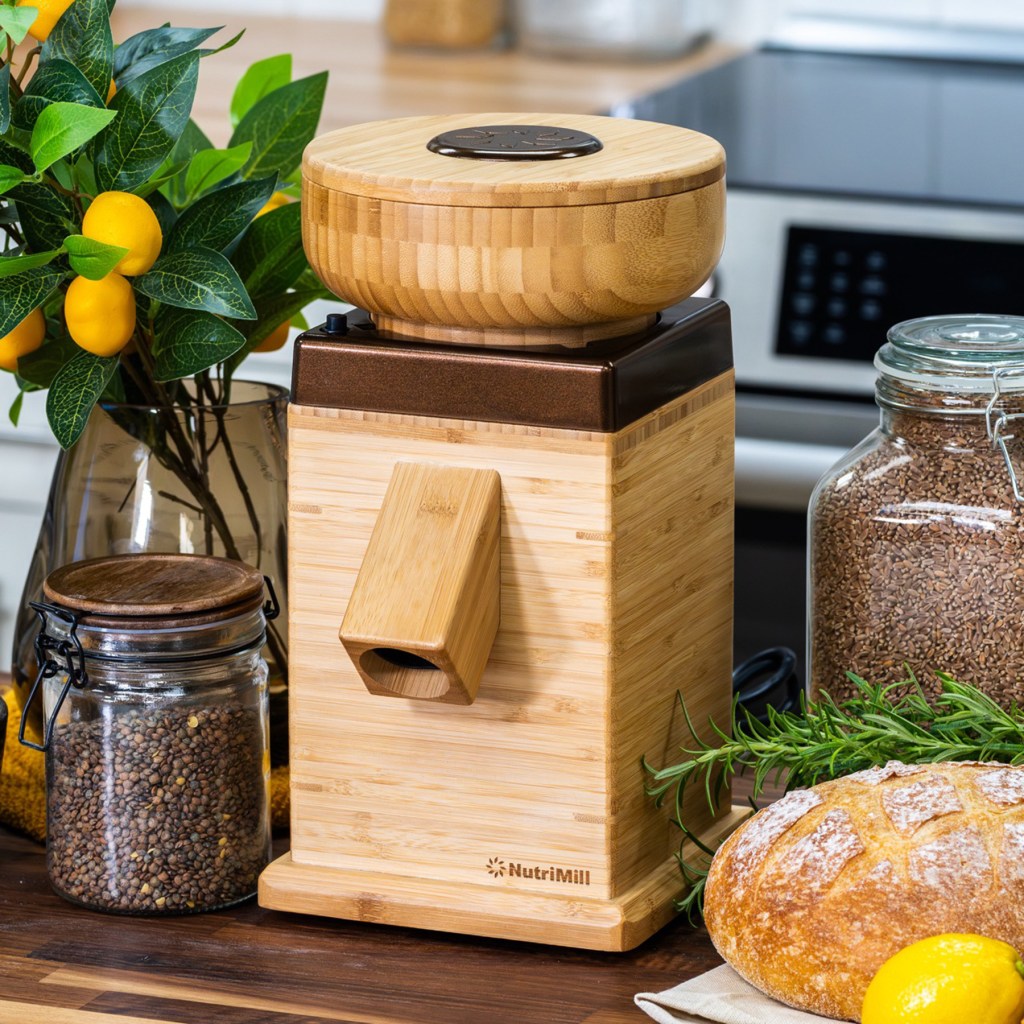
The NutriMill Classic runs somewhere in the $200–300 range, which makes it one of the most affordable quality electric grain mills on the market. There are fancier options out there — Mockmill, KoMo, Harvest by NutriMill — but if you’re just starting out and you want something reliable without spending a fortune, the Classic is exactly where I’d start.
You can grab the NutriMill Classic directly from the NutriMill website and save $20 with my code STEWARDINGFAITHFULLY on select items. That link also takes you to their full lineup, so you can compare models and see what fits your kitchen and your budget.
Affiliate Disclosure: This post contains affiliate links, which means I may earn a small commission at no extra cost to you if you make a purchase through my links. I only recommend products I personally use and trust. Thank you for supporting Stewarding Faithfully!
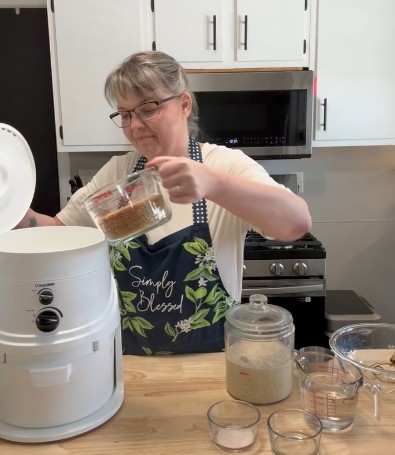
How to Actually Mill Flour
The process is about as simple as it gets:
- Choose your grain for whatever you’re baking (more on that below)
- Set your mill to the finest setting. For most baking, you want it as fine as possible. On my mill, I like the 11 o’ clock position.
- Pour your wheat berries into the hopper.
- Let the mill do its thing.
- Collect your fresh flour and use it right away, or store it in an airtight container in the freezer for up to 3 months.
That’s really it. The mill handles the hard part.
One practical tip: measure out slightly more wheat berries than the flour your recipe calls for. A small amount always stays in the mill, so you want to account for that.

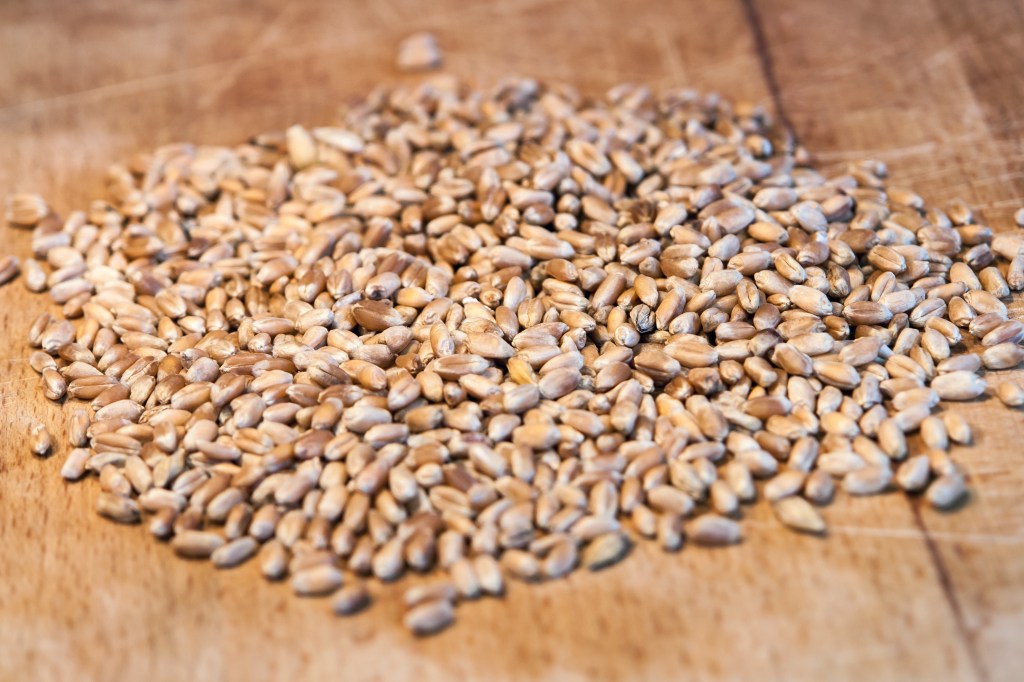
Which Grains Should You Buy?
This is where people sometimes get overwhelmed, but it doesn’t have to be complicated. If you’re just starting out, you really only need two types of wheat berries to cover most of your baking.
Soft white wheat is your everyday baking wheat. This is for cookies, muffins, biscuits, quick breads, pancakes. Things you would add baking powder or baking soda to. It’s lower in protein, which gives you a tender crumb. I reach for this one constantly.
Hard white wheat is your bread wheat. Higher protein content means more gluten structure, which is exactly what you need for sandwich loaves, pizza dough, and rolls. This is the closest fresh milled equivalent to white bread flour, but remember, it’s still whole wheat in every sense of the word.
Once you’ve gotten comfortable with those two, you can start experimenting:
- Hard red wheat brings a deeper, nuttier flavor and is great for heartier breads and artisan loaves.
- Khorasan (Kamut) is a beautiful ancient grain that bakes up with a rich, buttery flavor. I love blending it with soft white wheat in cookies and sweets.
- Einkorn, emmer, and spelt are wonderful if you want to dig into ancient grains, but I’d suggest getting your feet wet with white and red wheat first
Where to Buy Wheat Berries
I want to be straightforward with you here, I send people to specific sources because I use them and trust them, not just because they are available.
Grand Teton Ancient Grains is my first choice. They’re a family-owned operation, their quality is consistently excellent, and they carry a great selection of ancient grains including Khorasan, which is one of my favorites.
Palouse Brand is my second go-to, especially for soft and hard white wheat. Here’s something I recently found out, Palouse Brand grains are actually available right on the NutriMill website, so if you’re ordering a mill or stocking up on supplies, you can grab your grain at the same time. No need to order from separate places.
How to Store Wheat Berries (and Fresh Flour)
This is important, so don’t skip it.
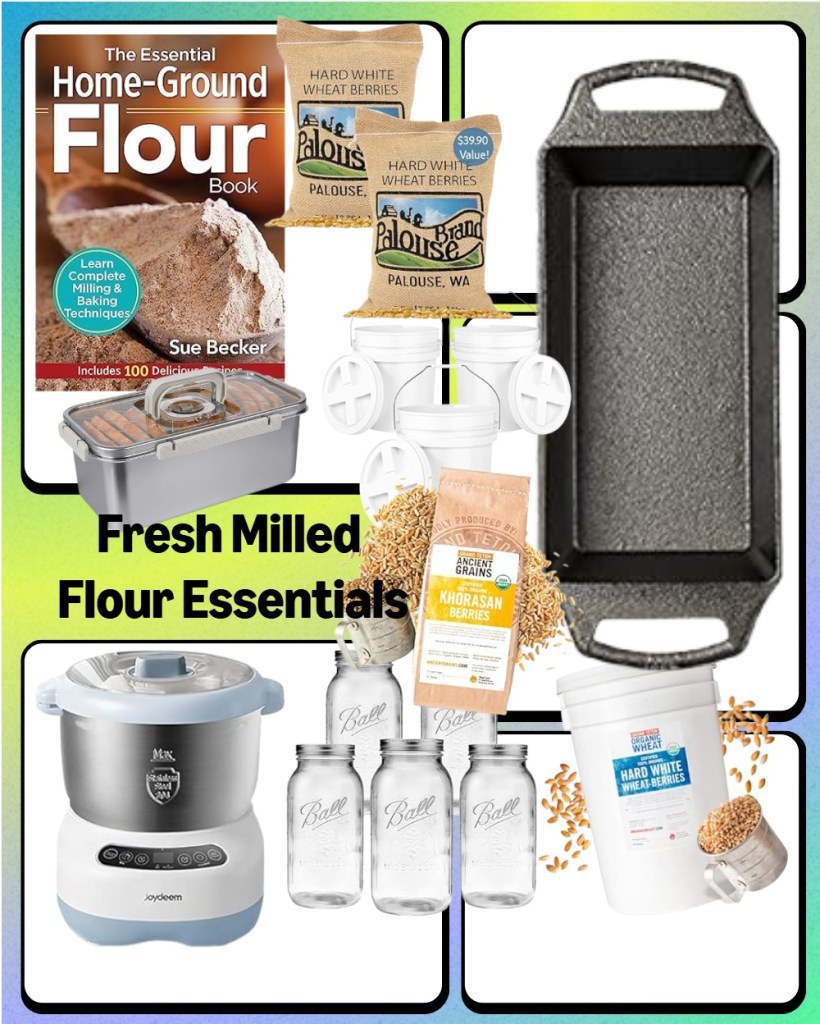
Whole wheat berries, stored properly, can last for years. The key is keeping them cool, dry, and away from light. For large amounts, food-grade buckets with gamma lids (I have these and love them) are the gold standard — just make sure they’re in a pantry or cool closet, not a hot garage or shed. For smaller amounts, half-gallon mason jars work perfectly.
Write the date on your container when you open a new bag. It takes about five seconds and it’s worth it.
Fresh milled flour is different. Because the germ is still intact, the natural oils in it mean it can go rancid faster than store-bought flour. I mill mine and use immediately. But if I have extra, I keep it in an airtight container in the freezer for the best flavor and performance. You can keep it at room temperature for a couple of days if needed, but the fridge and freezer are your friends.
Baking with Fresh Milled Flour: What to Expect
If you’ve been baking for a while, the transition to fresh milled flour won’t throw you completely, but there are a few things to know going in.
It absorbs more liquid. Fresh milled flour is thirstier than store-bought, usually somewhere around 10–15% more. If you’re adapting an existing recipe, start there.
The autolyse rest matters. For most bread recipes, you’ll want to let your flour hydrate before you add your starter or yeast. Some recipes call for an overnight rest. Follow the recipe on this — it’s not an optional step.
Mill as fine as you can. Coarser flour gives you a denser, heavier result. Dial your mill all the way to fine for most baking. If it’s still not fine enough, you can run it through again — just check your mill’s instructions first to make sure that’s okay.
Knead longer. The gluten in fresh milled flour develops a little differently. Don’t go by time — go by the windowpane test. When you can stretch a small piece of dough thin enough to see light through it without it tearing, you’ve got enough gluten development.
A note on stand mixers: If you’re going to be baking bread regularly with fresh milled flour, your mixer matters. The doughs tend to be stiffer and heavier, and lower-end stand mixers can burn out from the strain. I’ve heard good things about the Bosch Universal, which is rated for serious whole grain doughs. It’s worth researching before you invest in one or the other.
Ready to Start Baking?
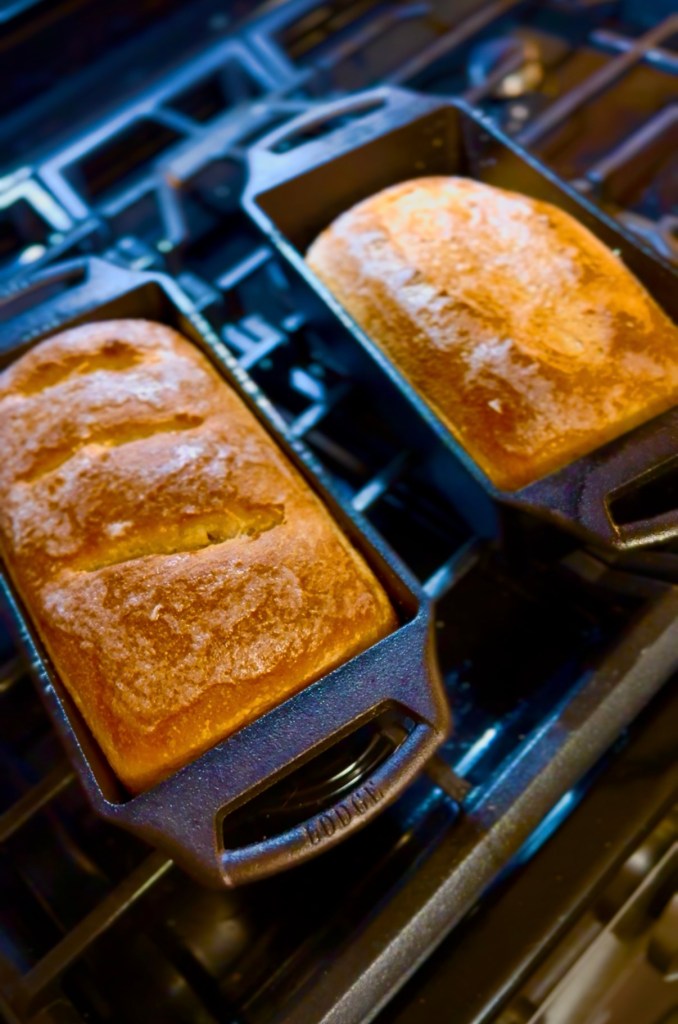
Once you’ve got your mill set up and your wheat berries on hand, there’s no better way to get comfortable with fresh milled flour than to start with something you already love to make. Here are two recipes on the site that are a great place to begin:
Brown Butter Chocolate Chip Cookies with Fresh Milled Flour These use a blend of soft white wheat and Khorasan, and they include an autolyse rest that makes a real difference in the final texture. If you’re going to make one thing to convince yourself this is worth it, make these.
Double Chocolate Chip Muffins with Fresh Milled Flour
A reliable, everyday muffin recipe that works beautifully with soft white wheat. Great for a first bake because the method is simple and the results are consistent.
Milling your own flour is one of those things that sounds like a lot until you actually do it. And then you wonder how you ever baked any other way. Start simple, give yourself some grace while you learn the quirks of fresh flour, and enjoy the process. That’s what it’s about.
As always — whatever you do, do it heartily, as to the Lord. Colossians 3:23
Shannon

Double Chocolate Chip Muffins with Fresh Milled Flour
These double chocolate chip muffins are a healthy baked treat made with fresh milled soft white wheat flour, providing more nutrition than traditional white flour. Soft and moist, they combine sour cream and semi-sweet chocolate chips for a rich flavor. Ideal for breakfast or snacking, they’re easy to store and freeze.

The Quiet Work Nobody Sees
Why It Matters More Than You Think Some mornings I am doing all of it by myself. My husband drives over the road, which means there are stretches of days, sometimes longer, where I am the one holding everything together. The cooking, the cleaning, the laundry, the grocery run, the broken thing that needs fixing,…

What Is Fresh Milled Flour?
Why I’ll Never Go Back To The Bag If someone had told me five years ago that I’d be milling my own flour at home, I would have laughed. I was a bakery owner. I knew flour. I had strong opinions about flour. And all of my opinions came from the stuff in the bag…
Shop My Favorites
(thank you for your support)
Grain Mills and Mixers
Bread Baking Essentials
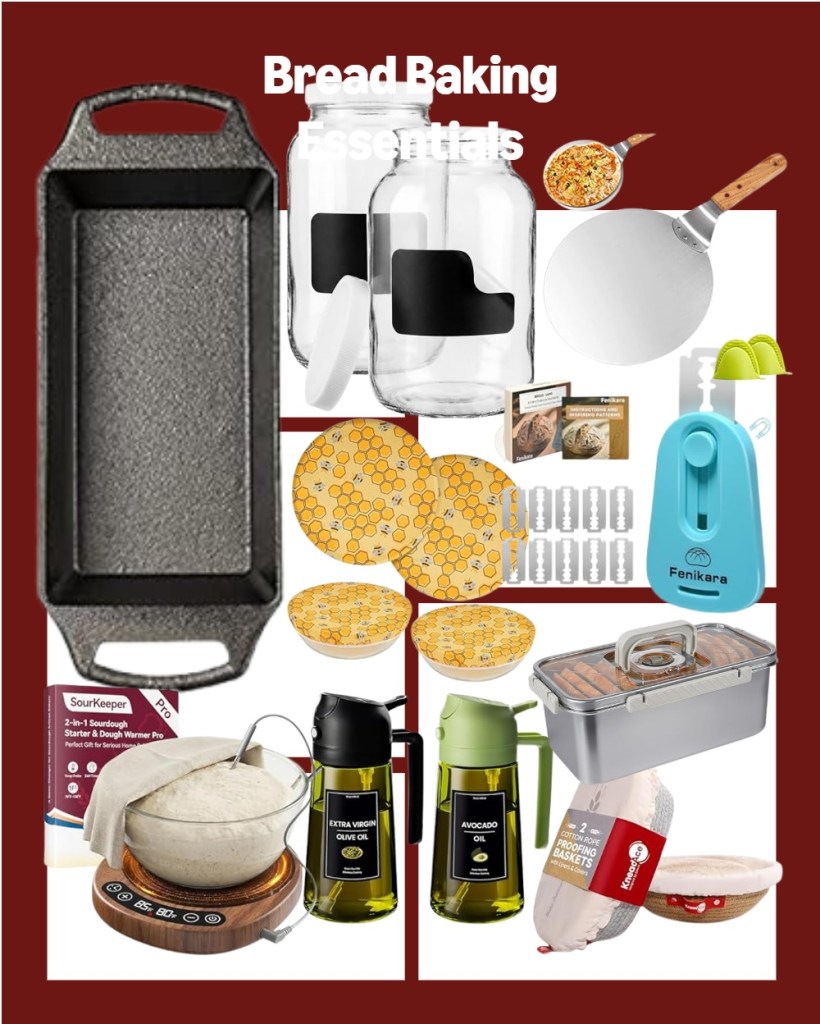
Fresh Milled Flour Essentials

Leave a comment