
My go-to pizza crust recipe with fresh milled flour
This is part 1 of Pizza Night Done Right. Part 2: The Marinara | Part 3: Cheesy Bread & Roll-Ups
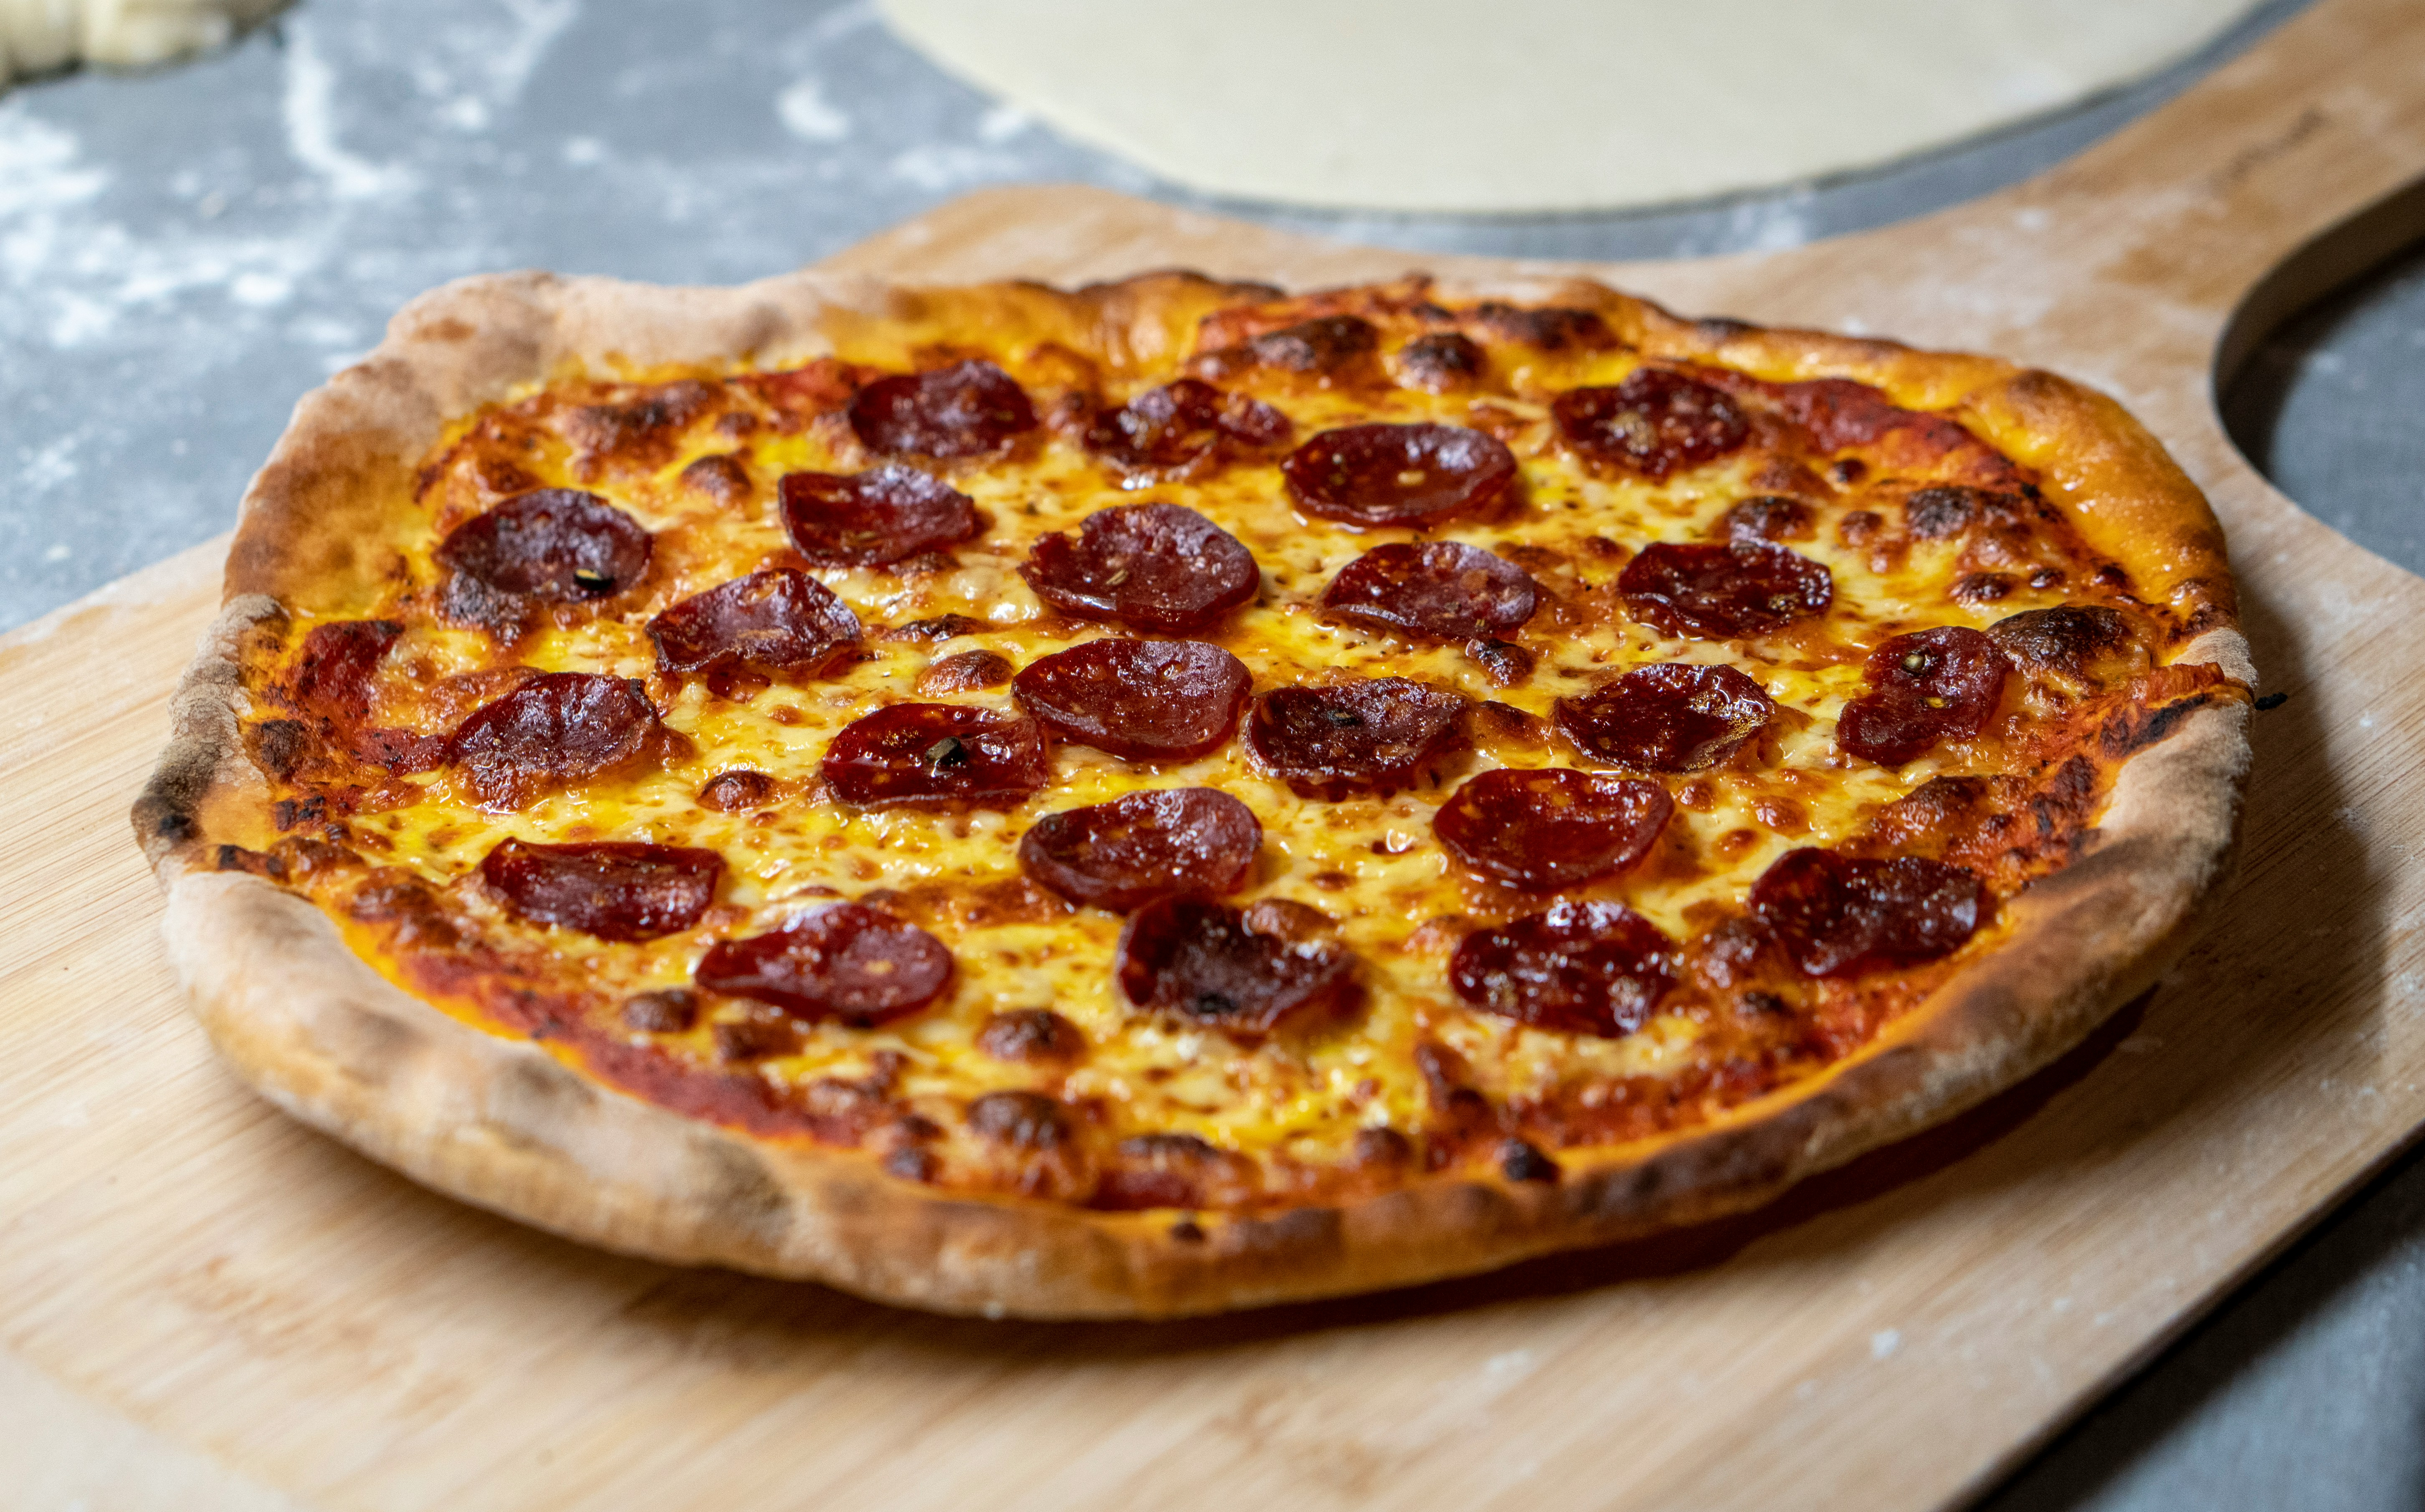
Friday night is pizza night at our house, and it has been for years. Roy climbs down out of the truck, I fire up the NutriMill, and by the time he’s unloaded his bag there’s dough on the counter and pepperoni ready to top the pizza. That man could eat pepperoni pizza seven days a week and die happy. I’m a sausage girl if I’m being honest, meat lovers all the way.
For years I made pizza like everybody else. Store-bought crust, maybe a tube of dough from the refrigerator section if I was feeling fancy. It got the job done. Then I started milling my own flour and decided the whole night needed an upgrade, not just the crust.
That’s what this post is. This dough is the base for our whole Pizza Night lineup this weekend. I’ll be sharing my homemade marinara, cheesy bread made from this same dough, and pepperoni roll ups too. Same dough, three different directions, one really good Friday night. Watch for those over the next few days.

But we start here, with the dough. All hard white wheat, fresh milled as fine as I can get it on my NutriMill Classic, a little honey instead of sugar, and enough for one pizza tonight with two more portions tucked in the freezer for later. No sourdough, no cold ferment, no waiting three days for dinner. Just good, whole grain pizza dough on a Friday night like the Lord intended.
Affiliate Disclosure: This post contains affiliate links, which means I may earn a small commission at no extra cost to you if you make a purchase through my links. I only recommend products I personally use and trust. Thank you for supporting Stewarding Faithfully!

Why Hard White Wheat?
Hard white wheat is my workhorse grain, and it earns that title here too. It has enough protein to develop real gluten, the kind that lets you stretch and shape the dough without it tearing, but a milder flavor than hard red. The crust tastes like actual pizza crust. Not a health food compromise, the real thing.
I source mine from Grand Teton Ancient Grains and mill it as fine as possible on my NutriMill Classic. That fine grind matters for pizza. Coarser flour means a gritty texture in the finished crust, and nobody’s asking for that. Run it fine, let the dough rest during the autolyse, and the bran softens right into the dough.
The Autolyse Rest, Don’t Skip It
Fresh milled flour behaves differently than all-purpose. It needs time to absorb water before the yeast ever gets involved. I mix everything except the yeast, cover the bowl, and walk away for 15 minutes. When I come back, the flour has had a chance to hydrate, the dough kneads easier, and the gluten development is already ahead of where it would be without that rest.
After the rest I add the yeast, then knead to the windowpane test. With fresh milled flour that can take 20 minutes or more depending on your mixer. Don’t rush it. The windowpane is how you know you’re done. Stretch a small piece of dough thin enough to see light through it without it tearing. That’s your green light.
Bake One, Freeze Two
This recipe makes enough for three twelve-inch pizzas or two fifteen-inch. On Friday nights I bake one and freeze the rest, each portion divided into its own oiled bag. Dough in the freezer means pizza night can happen on any night with about two hours of thaw time. Roy doesn’t object to this system, not even a little.
The Docking Trick
If you like an old-school, flatter crust with a little crunch, the kind that doesn’t puff up in the middle and send your toppings sliding, dock it before you add the sauce. Use a pizza docker or just poke the stretched dough all over with a fork, the way you’d do a pie crust. It controls the rise in the center and gives you that classic pizzeria texture. I do this about half the time depending on my mood.
Roy’s Way and My Way
Roy’s pizza: pepperoni. More pepperoni. A little more pepperoni than that. Mozzarella, red sauce, and enough pepperoni that you can’t see the cheese anymore. He has been consistent on this for as long as I’ve known him.
My pizza: Italian sausage and extra cheese. Meat lovers if I’ve got everything on hand. If I’m really feeling fancy, I’ll shred some fresh parmesan to add before digging in.
Point is, this dough handles whatever you put on it. It’s sturdy enough for heavy toppings, pliable enough to fold New York style, and flavorful enough that a simple cheese pizza with good mozzarella is genuinely worth eating on its own.
Wheat Berries & Equipment
Here’s what I use to make this every Friday night:
NutriMill Classic Grain Mill. My mill. Grinds fine enough for pizza dough without any grit. Use code STEWARDINGFAITHFULLY for $20 off at NutriMill.
Hard White Wheat Berries from Grand Teton Ancient Grains. What I use in this recipe every week.
Pizza Peel. Makes getting the pizza in and out of a 450° oven much less terrifying. A lightweight foldable one works great.
KitchenAid or Bosch Stand Mixer. You need a stand mixer for this dough. Fresh milled flour kneaded to windowpane by hand is a project.
Pizza Docker- Perfect tool for making perfect dough every time! Great for pizza, pie, pastries, and more.

My Go-To Pizza Crust Made With Fresh Milled Flour
Ingredients
- 460 g hard white wheat milled on fine setting
- 354 g warm water
- 2 tsp salt
- 1 tbsp honey
- 2 tbsp extra virgin olive oil
Instructions
Make the Dough
- Mill hard white wheatberries as fine as your mill allows. You need 460g of flour.
- Warm water to about 90°F —warm to the touch but not hot.
- In the bowl of a stand mixer, combine the water, honey, olive oil, salt, and flour. Mix until just incorporated.
- Cover the bowl and let it rest for 15 minutes. This autolyse step lets the fresh milled flour fully absorb the water before kneading begins.
- Add the instant yeast and mix to incorporate.
- Knead on medium-low speed until the dough passes the windowpane test. Don't rush it and don't add extra flour. The dough will be sticky, and that's correct.
- Lightly oil a large bowl and place the dough inside. Cover with plastic wrap or a damp towel.
- Let rise at room temperature for 1 hour or until doubled.
Shape and Bake
- Preheat oven to 450°F.
- Turn dough out and divide into 3 equal pieces for 12-inch pizzas or 2 pieces for 15-inch.
- Lightly oil a smooth surface. Flatten each dough portion to your desired size and shape.
- Optional: dock the dough by poking it all over with a fork before adding sauce. This gives a flatter, crispier old-school crust and keeps toppings from sliding.
- Transfer shaped dough to parchment paper lightly dusted with cornmeal or rice flour, or sprayed with baking spray.
- Add sauce and toppings. Try it with the homemade marinara from this weekend's post.
- Using a pizza peel or baking sheet, slide the pizza (with parchment) directly onto the oven rack.
- Bake 8 minutes, then slide out the parchment paper and return the pizza directly to the rack.
- Bake another 6 to 8 minutes until the cheese is browned and bubbly and the bottom is deeply golden.
- Remove with the peel or pan. Rest 3 to 5 minutes before cutting.
Freezing the Dough
- After dividing the dough, spray freezer-safe zip-lock bags with oil and place one dough portion per bag. Press out air, seal, and freeze for up to 3 months. To use, thaw in the refrigerator overnight or at room temperature for 2 to 3 hours, then shape and bake as above.
What’s Coming This Weekend
This dough doesn’t stop at pizza. I’m sharing three more recipes built on this same base:
- My homemade marinara, the sauce I make from scratch for this crust and everything else that needs a good red sauce
- Pepperoni roll ups, the easiest thing to make when you want pizza flavor without the plate and fork
- Cheesy bread made from the leftover dough, perfect for the kids or for dipping in that marinara
Save this post so you have the dough recipe ready when the rest of the lineup goes live.


Leave a Reply